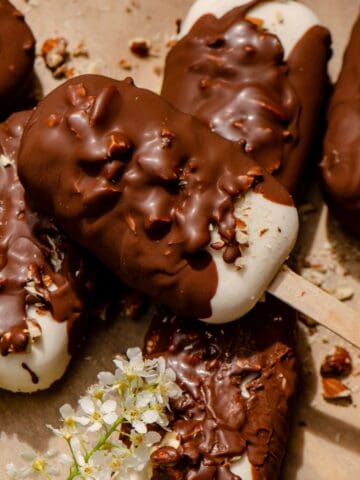
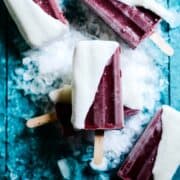
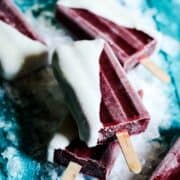
In my opinion, to make the best cherry popsicles, all you need is cherries, honey, and yogurt because then they are sweet, juicy, and refreshing! I love making healthy popsicles with just fruit and yogurt. Next, try my rhubarb popsicles!
I use frozen pitted cherries for these popsicles, but fresh dark cherries work too! Let me show you how easy it is to make these popsicles and dip them in vanilla yogurt for your kiddos next favorite summer snack!

Overview
Prep Time: 15 minutes prep
Freeze Time: 5-8 hours freezing
Dietary: Gluten Free, Refined Sugar-Free, Dairy Free Option
Note: Easy to make, three simple whole ingredients, popsicle mold needed
Dark sweet cherries have been a favourite of mine ever since I went to my grandparents' cherry and apple orchard. These days, I love making cherries into healthy recipes and enjoying them with my kids - like this cherry raspberry smoothie and these ice pops or popsicles.
One of my friends gives her kids popsicles, from my recipes, for breakfast in the summer because they are that healthy (just like my dragon fruit popsicles that are purple and tropical).
I think these are perfect to have in the summer snack rotation because it's a no-bake recipe, so you don't need to heat up the house with your oven to have a treat. And well, of course, they cool you down!
Ingredients and recommended alternatives
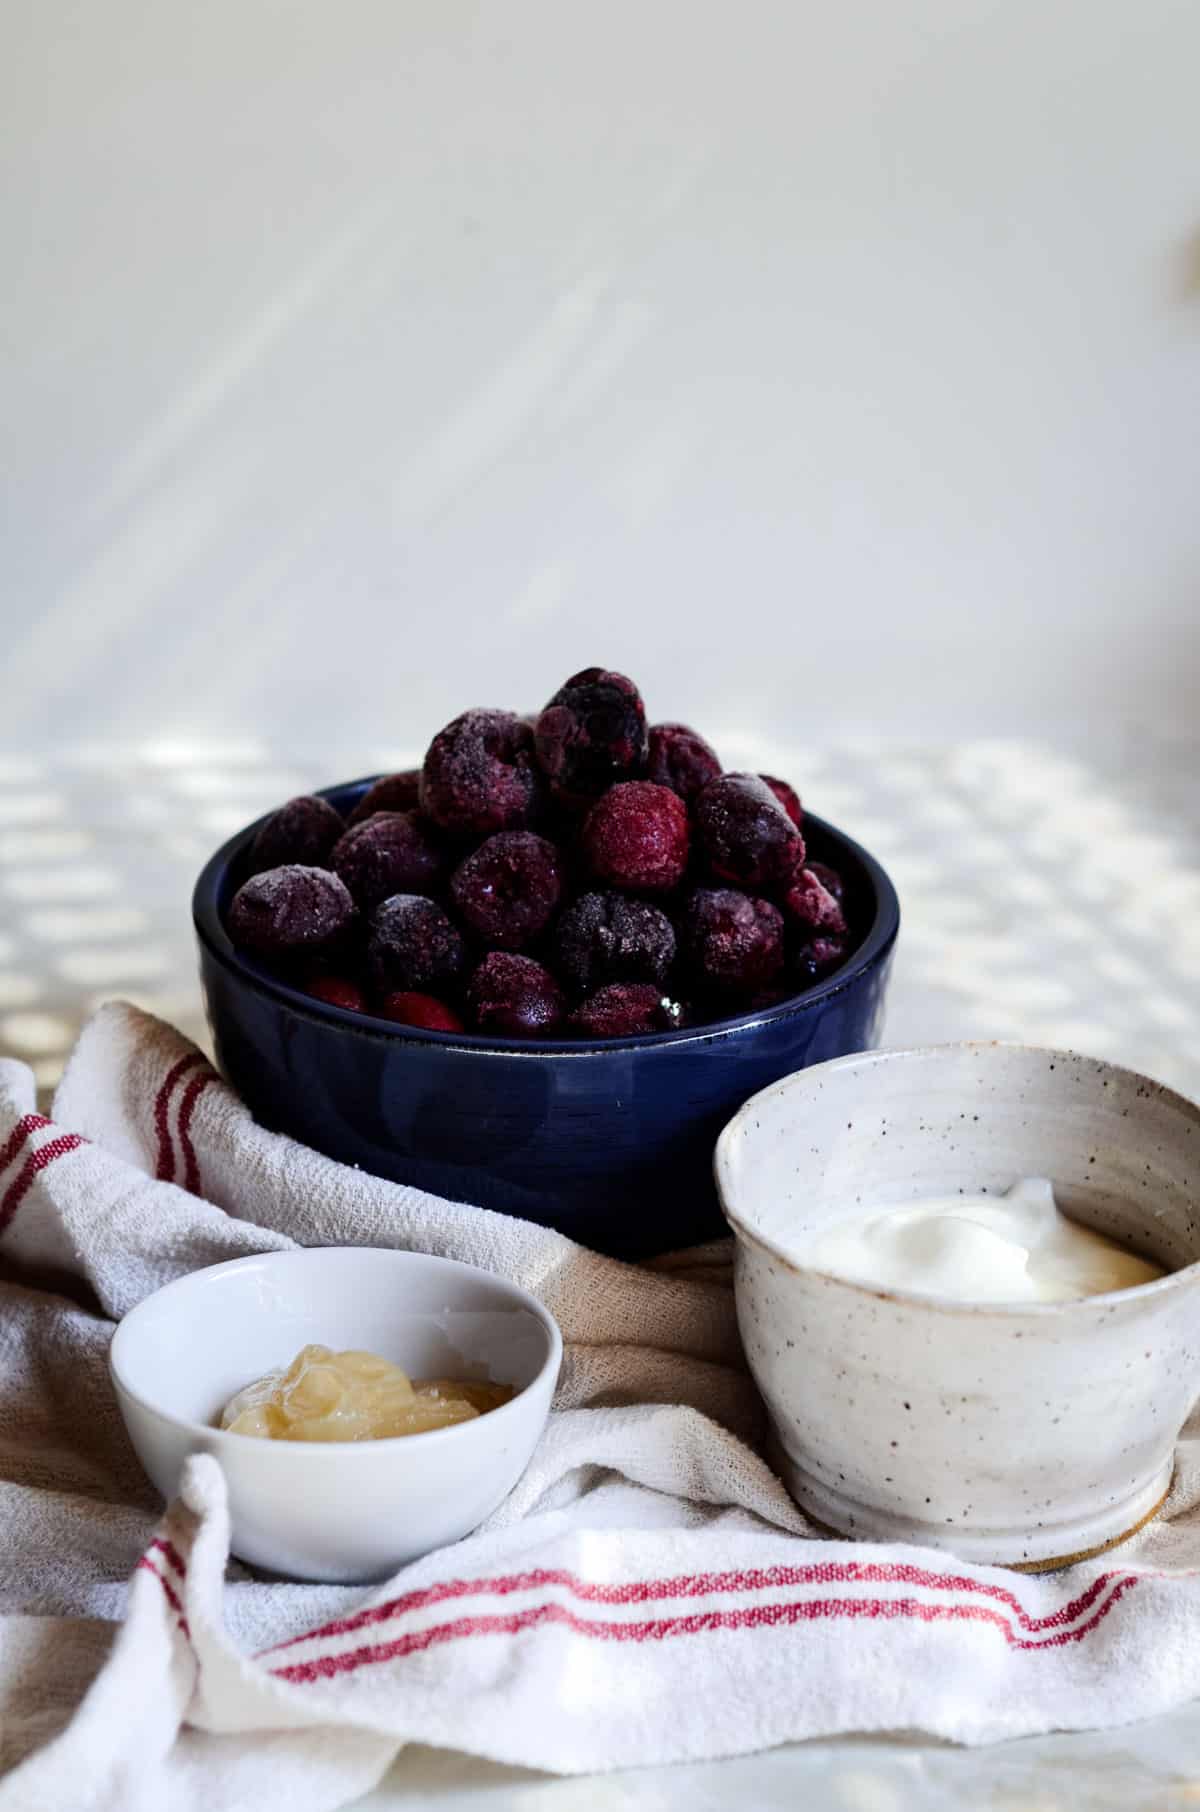
- Cherries: I used frozen cherries (because they are easy to get when cherries are not in season), they are already pitted, and they are more affordable! I used pitted dark sweet cherries from President's Choice Brand. Fresh cherries will work too; you will just need to freeze these popsicles longer! Cherries are usually in season in Western Canada in late July and early August.
- Honey: The flavour combo of honey and cherry together is so magical! I like to use raw local honey as it contains trace minerals. If you don't have honey, you can use maple syrup.
- Yogurt: Use vanilla yogurt, Greek yogurt, or plain yogurt and add a bit of maple syrup or honey to sweeten it. I dip the cherry popsicles into the yogurt to have a creamy yogurty outside layer! To make these dairy-free, use dairy-free yogurt or coconut cream. Eating yogurt is a good way to get probiotics and promote healthy bacteria in our gut - another good reason to feed these popsicles to your kids!
How to make homemade cherry popsicles
Honestly, homemade popsicles are so easy to make! The hardest part is waiting for them to freeze! Follow along with the pictures from my kitchen to see how to make your very own cherry popsicles.
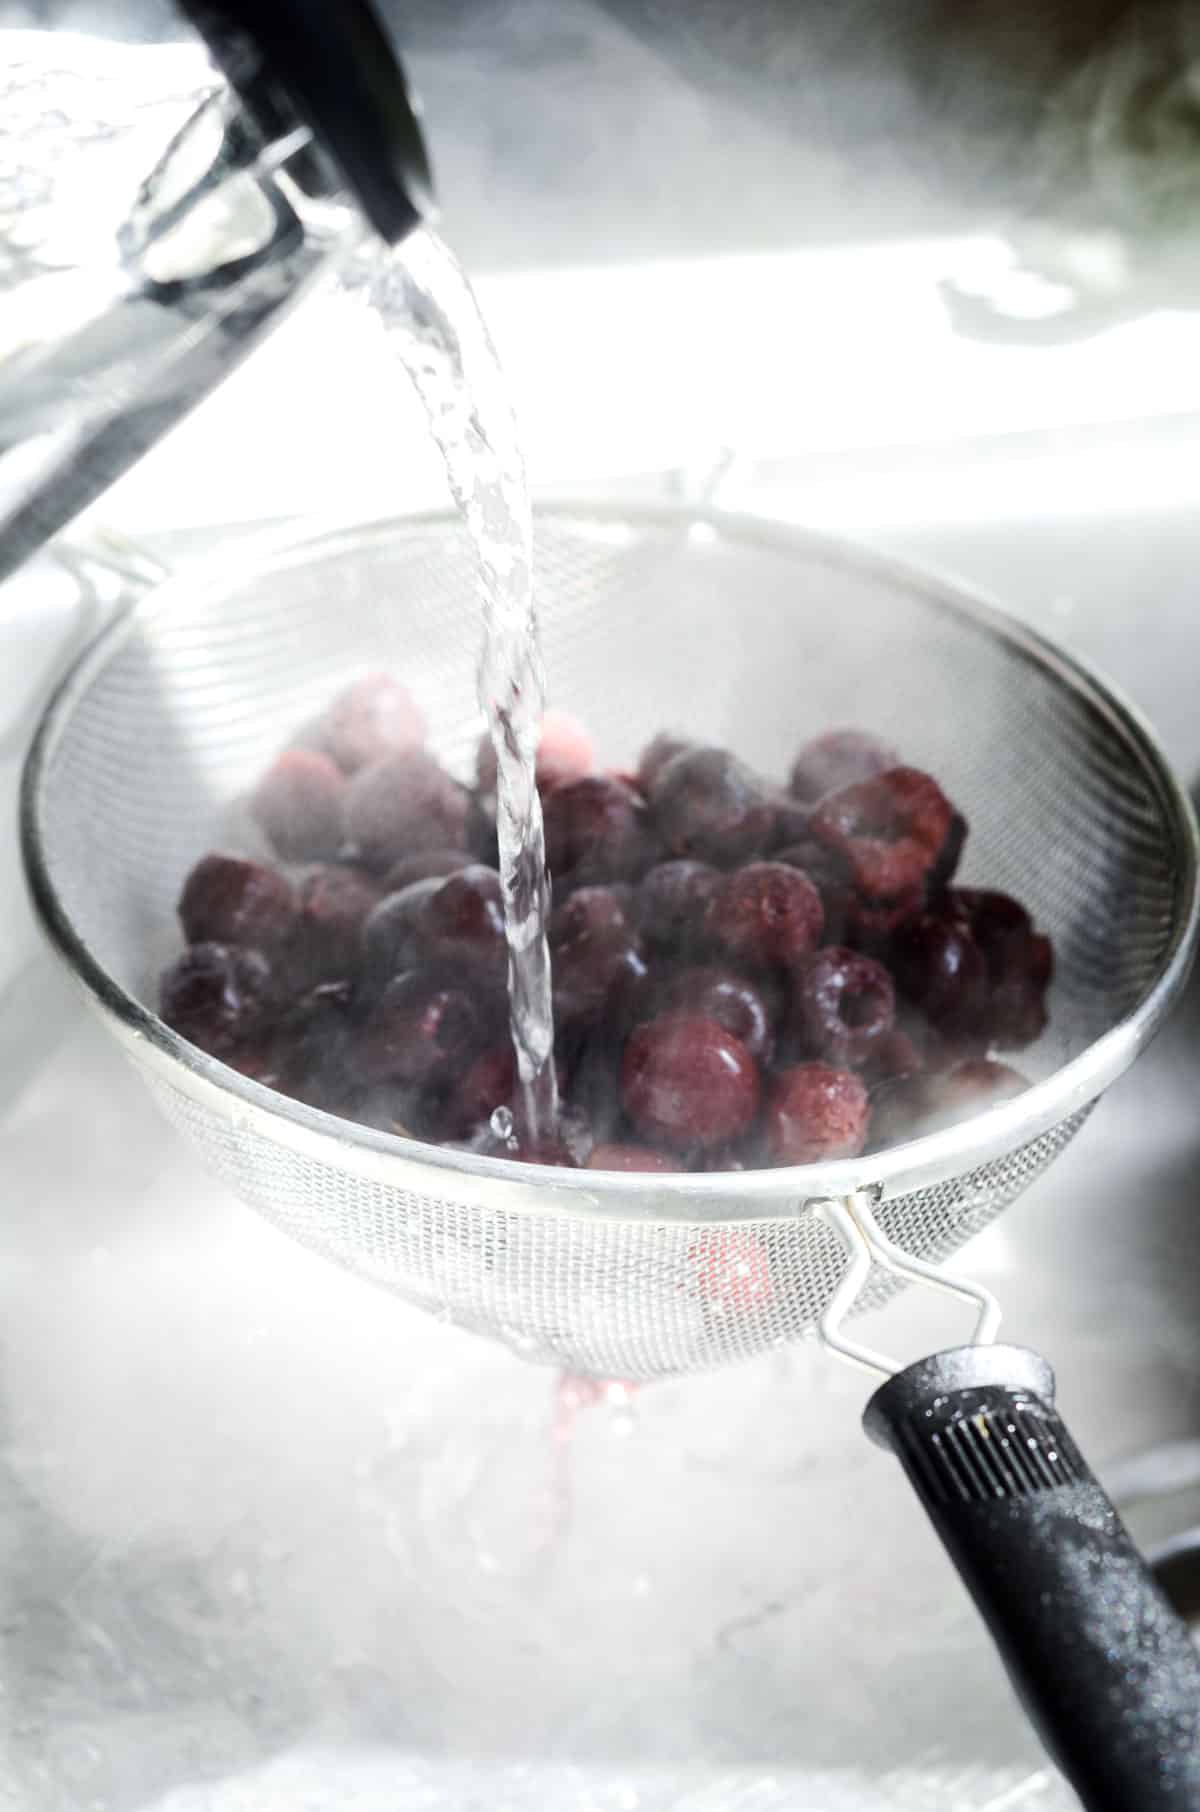
- If using frozen cherries, start by softening them. Place the cherries in a colander in the sink and pour boiling water over them. This softens them enough to blend. Alternatively, let the cherries sit at room temperature for an hour.

2. Place the honey and the soft pitted cherries in a blender container.
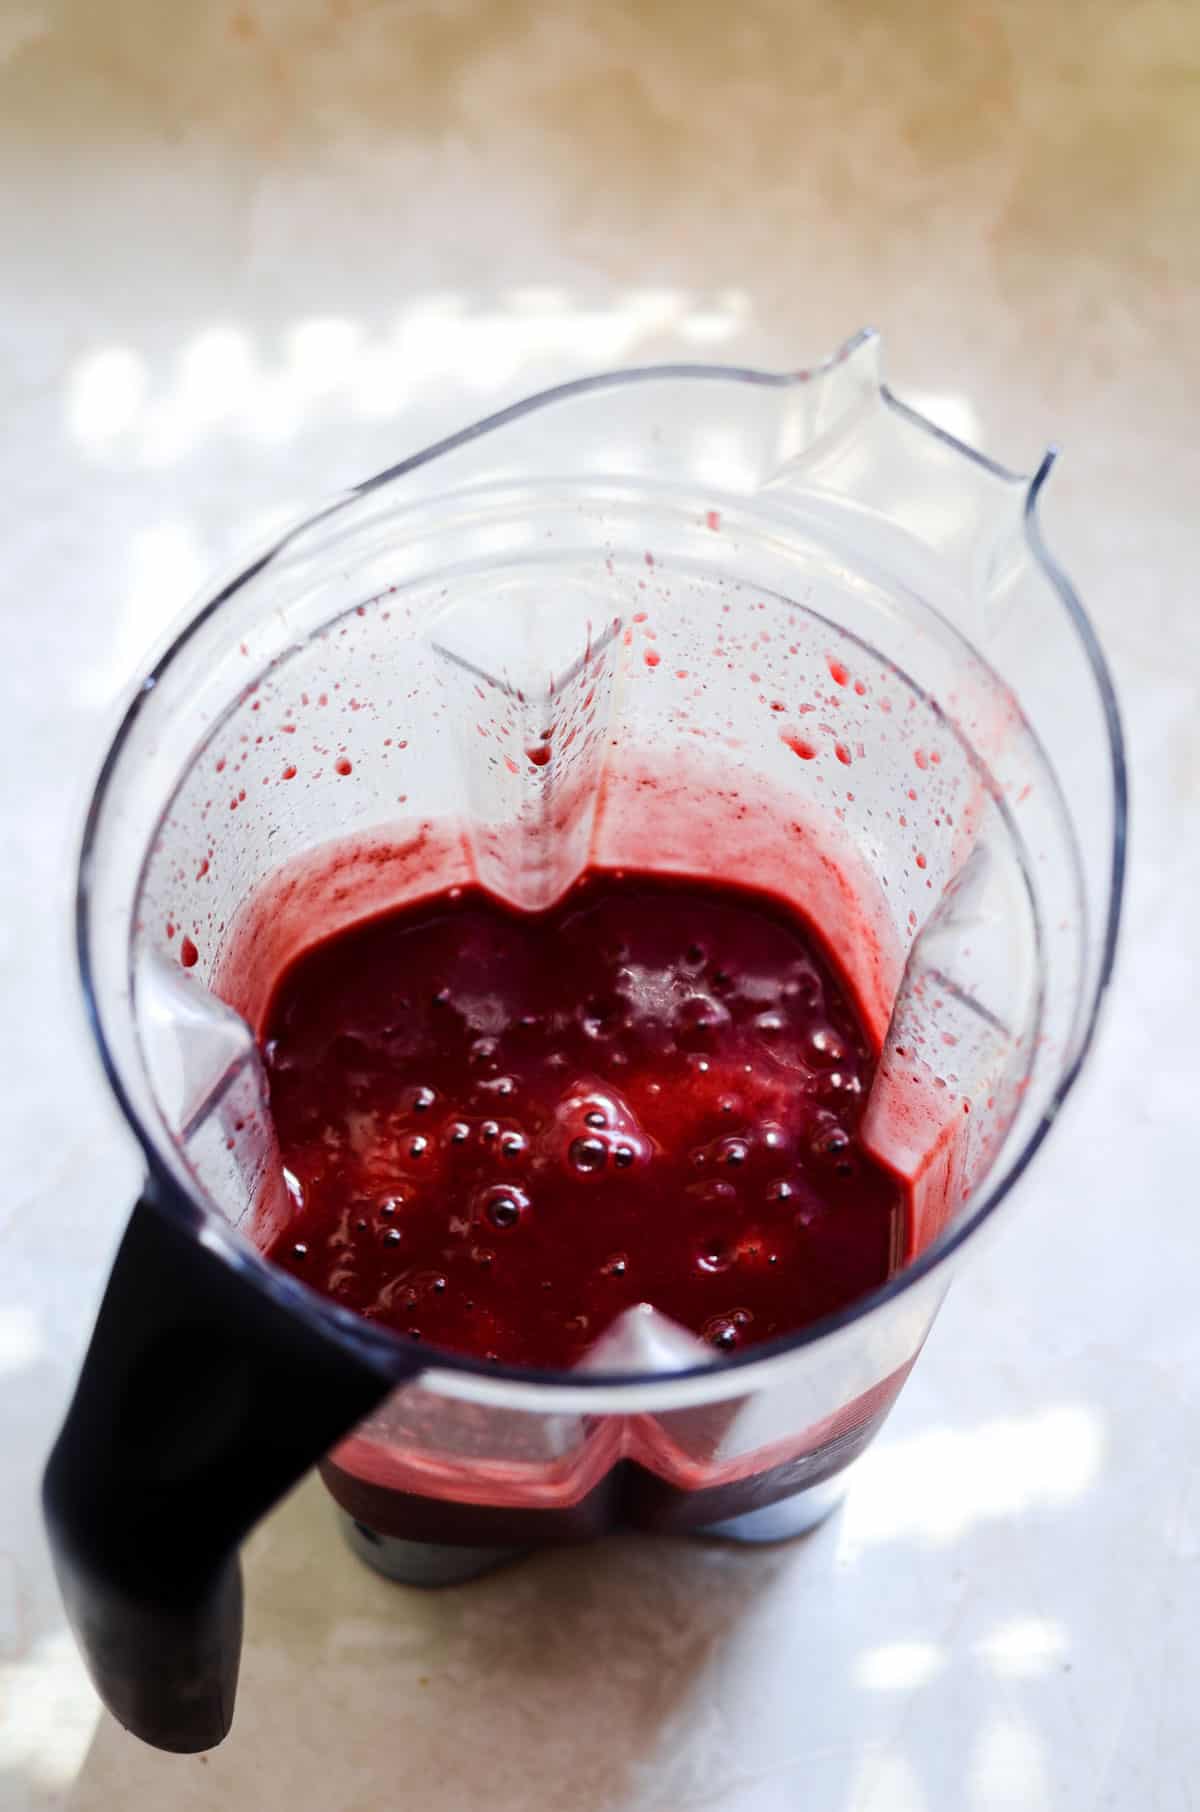
3. Blend until everything is smooth and liquidy.
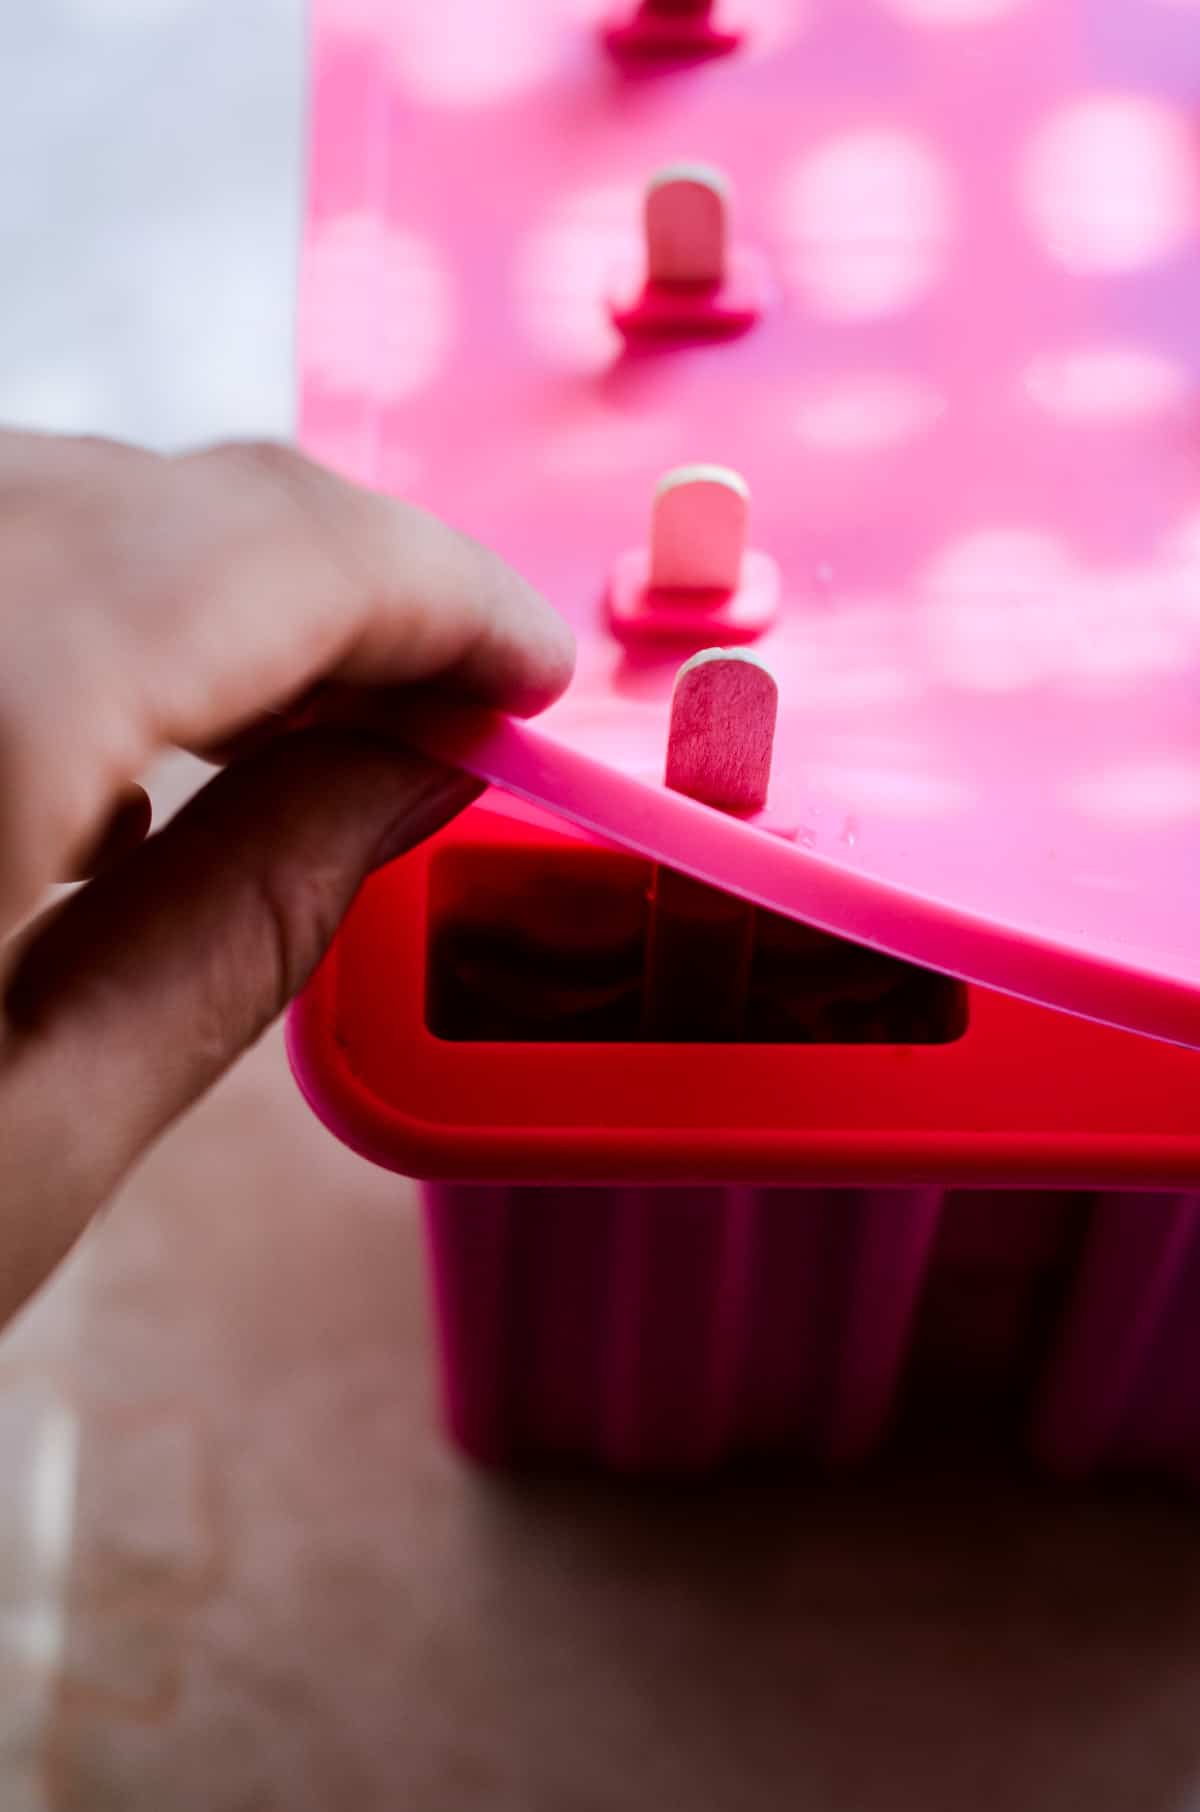
4. Carefully pour the popsicle cherry mixture into a mold. Add popsicle sticks and freeze for 5-8 hours.
5. Dip in yogurt: After the popsicles are frozen, place the yogurt in a tall glass, hold it at an angle and dip the popsicle in the yogurt. Place the popsicles on a silicone mat or parchment paper, and freeze for 10 more minutes so the yogurt hardens.
Danika's recommendations
- I have tested how long popsicles take to freeze in two freezers; the fastest was 4.5 hours. Allow the popsicles to freeze for 5-8 hours. However, it's best to plan and expect to eat them tomorrow.
- I always try to sneak them out of the freezer (so my kids don't get too excited) and let the popsicle sit out for 5-10 minutes before serving and eating. This gives them the soft, juicy texture.
Flavor variations
You can make these healthy popsicles with other fruit!
- Strawberry: I have tested this recipe with half frozen strawberries and half frozen cherries, and it was so incredible! You could also make it with just strawberries!
- Mango: Do you prefer a yellow popsicle? Use my 1 ingredient mango popsicle recipe and then dip them in yogurt if you choose!
- Dragon Fruit: Instead of red cherry popsicles, you can make healthy, bright purple or pink popsicles. Use my recipe for dragon fruit popsicles, and dip them in vanilla yogurt!
Equipment I used to make cherry popsicles
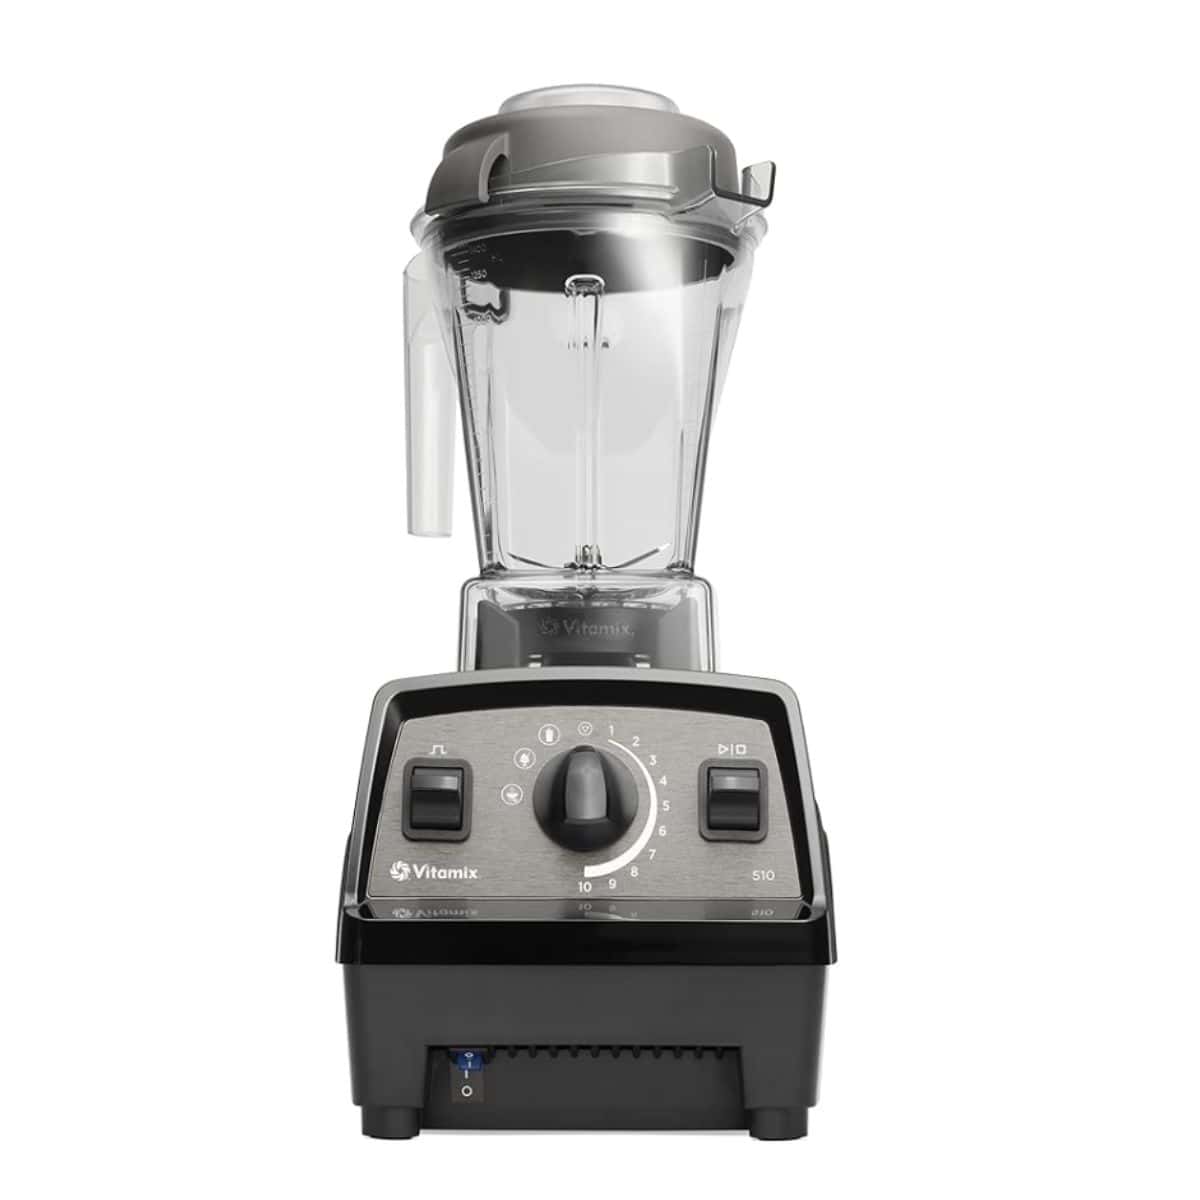
Blender: To make popsicles at home, you will need a blender or a food processor to blend the cherries into a thin mixture before freezing.
I use my Vitamix blender daily and think it is the number one purchase for making healthy food in the kitchen.
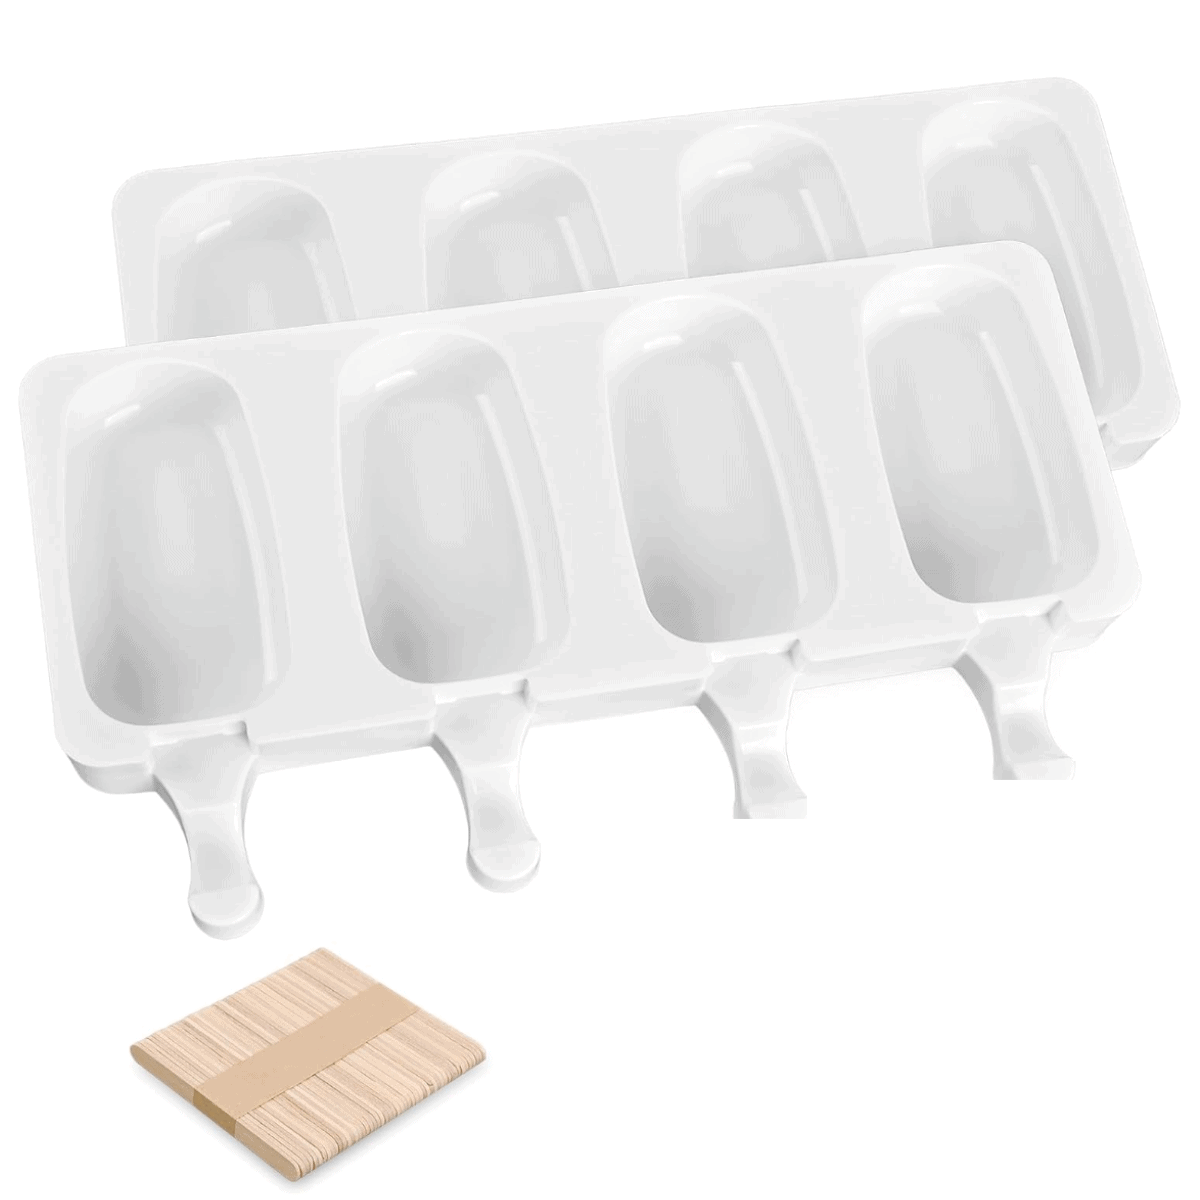
Popsicle mold + wooden popsicle sticks: This is a key piece to make popsicles! If you don't have a mold, many things can work in a pinch (little yogurt cups, dixie cups, muffin tray).
I got my popsicle mold from Amazon two years ago, and the reason I love this silicone mold so much is that it easily pops out any frozen icy popsicle!
FAQ
To make softer popsicles, limit the water content! Water content (like juice) makes popsicles more solid and hard when frozen. Sugary foods and alcohol do not fully freeze, making something softer when frozen; therefore, for this recipe, we use sweet cherries and honey. Lastly, let the popsicles sit for 5-7 minutes before eating.
Fill a popsicle mold almost full, leaving ¼ inch at the top as liquid expands when it freezes.
Fruit popsicles can be healthy, depending on all of the ingredients in the popsicle. Stay away from any fruit popsicles with added refined sugars, dyes, and ingredients you cannot pronounce. A healthy popsicle will be made with real fruit, especially whole fruit (including the fiber).

Healthy homemade popsicles
I'm a big fan of making homemade popsicles because I can make them healthy and actually beneficial to my health (no sugar or dye). Plus, my kids like to eat them. Here are some of my other recipes to try.


🍒 I want to know if you made these cherry popsicles with yogurt! Would you please take a moment to give this recipe a star rating and comment? I love hearing from you, honestly, it makes my day, and it truly helps this little blog grow!

Best Cherry Popsicles
Equipment
- 1 blender
Ingredients
- 5 cups frozen pitted cherries or fresh pitted cherries
- 3 tablespoons honey
- 1 ½ cups vanilla yogurt or plain yogurt mixed with maple syrup
Instructions
- Place the frozen cherries in a colendar in the sink, and pour 1 kettle of boiling water over the frozen fruit to soften them.
- Put the softened cherries into the blender container. Add the honey and blend until completely smooth.
- Pour into popsicle molds. Freeze for about 5-8 hours.
- Remove popsicles from the mold. Place the yogurt in a tall cup and dip popsicles into the yogurt. Place each popsicle on a silicone mat or parchment paper on a baking pan. Freeze for another 10 minutes to let the yogurt harden.
- Take them out of the freezer and let them soften for a few mintues or eat right away! Enjoy.
Notes
Nutrition
If you have lots of cherries from cherry season and you need another healthy recipe, try my blueberry cherry smoothie, it's purple and refreshing!

Danika Vanderpyl, C.H.N
I create snack recipes with healthy ingredients that are mostly already in your kitchen. I'm certified in Holistic Nutrition and I care about giving my kids real food. Let me share my nutrient-dense easy snacks with you.
Frieda says
These popsicles are delicious. We live in an area with excess cherries so it’s great to have another cherry recipe!
I like things on the less sweet side so I’d likely use a little less honey when making it for my family (especially with the yogourt sweetened with maple syrup) but soo gooood!! LOVE!